

Knowledge Base
Creating categories and publishing articles
Updated 2026-09-09
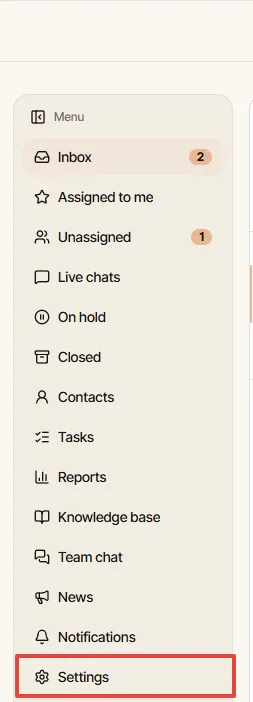
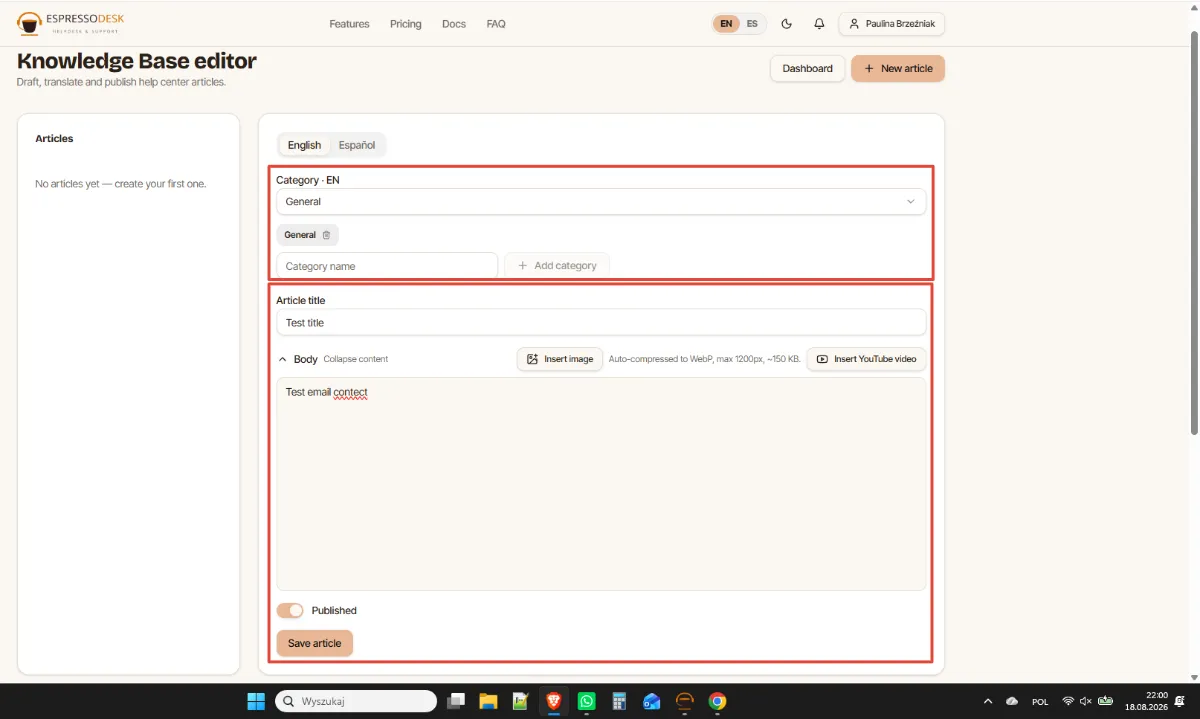
Open Knowledge base in the dashboard. Categories are mandatory, so create at least one before writing: give it a name and a position, which controls the order shown in your portal.
To write an article, choose the category, enter a title and the body, then decide whether to publish. Draft articles stay private to your team; published ones appear in your customer portal and can be used by the AI chatbot.
Every article shows its creation and last modification date, so you can spot content that has gone stale. A category can only be deleted once it has no articles left; move or delete them first.

Step by step
- Open Knowledge base and create a category with a clear name and a position.
- Click new article, pick the category and write the title first: it becomes the address of the page in your portal.
- Write the body with the editor. You can use headings, lists, bold text, links, images and embedded videos.
- Save as a draft while you work, then switch it to published when it is ready.
Good to know
- Write one article per question. Two short focused pages help customers, and the AI chatbot, far more than one long page.
- Articles exist per language, so publish the English and the Spanish version separately if you support both.
- Only published articles are visible in the customer portal and usable by the chatbot; drafts stay internal.
- You can reorder categories and articles at any time by changing their position, without touching the content.